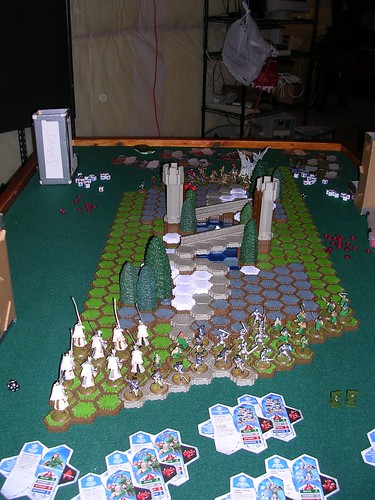
The boys and I finally played our first game on the new Game Table. Yay. It was a two team board that was 54” x 24”. 54 inches is how tall James is now. The battlefield would not have worked on the our previous table but here we had plenty of room for all our stuff and a large board.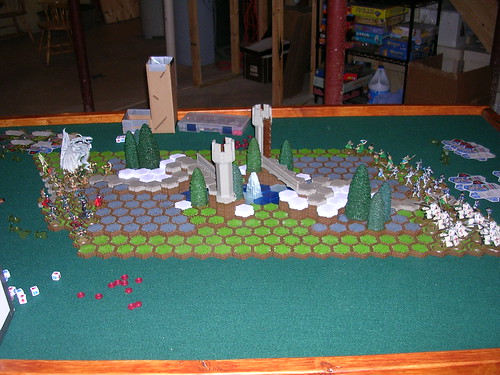
TEAM 1 – David and James 1300 points
David
110 – Acolarh
185 – Nilfheim
140 – Aubrien Archers X2
100 – Syvarris
160 – Sonlen
695 points
James
150 – Cyprien Esenwien
45 – Sonya Esenwein
150 – Venom
130 – Tagawa Samurai Archers X2
120 – Arrow Grunts X3
10 – Isamu
605 points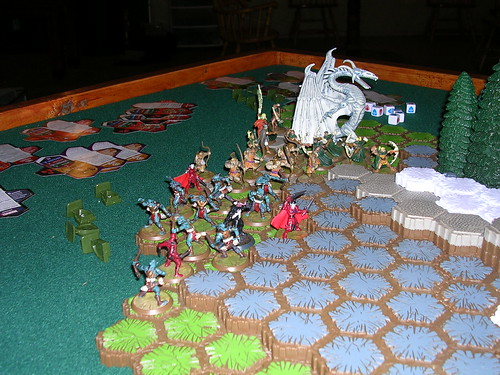
Team 2 – Dad
360 – Templar Cavalry X3
140 – Knights of Weston X2
140 – 4th Massachusetts Line X2
240 – MacDirk Warriors X3
110 – Alastair MacDirk
990 points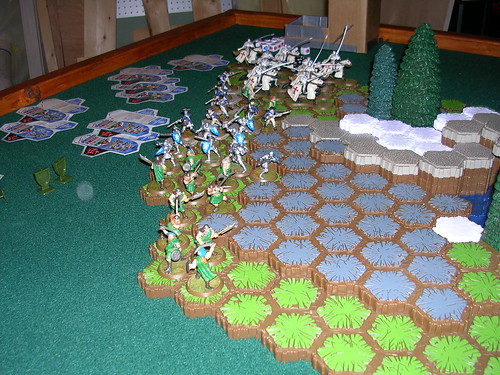
This was not a bad see-saw battle that lasted about 5 rounds. I had never played with my Calvary yet but had been dyeing to. The problem is the Calvary are often not the best choice during drafting because of their cost and they are double base figures. So I designed a battle field with them in mind. A field with long open spaces for them to use their speed and charging ability.
In this battle we tried something new. I got two turns per round since there were two of them. This gave me an advantage because I could move one army 6 times per round if I needed too. So I started with fewer points. In the end I never moved an army more than times.
Also we played without glyphs and we really didn’t miss them. On this field the game was not about get to some out of the way corner and hold a glyph. It was more about charge down and attack or attack those doing the charging.
Round 1 –
I charged down the left side with my Calvary but I made a big mistake. I did not put enough turn markers on them because I wanted to mobilize other parts of my troops too. This left them poised to charge next round but also left them poised to be shot by archers! Scratch one expensive set of Templars.
The Boys mostly just mobilized archers up the road.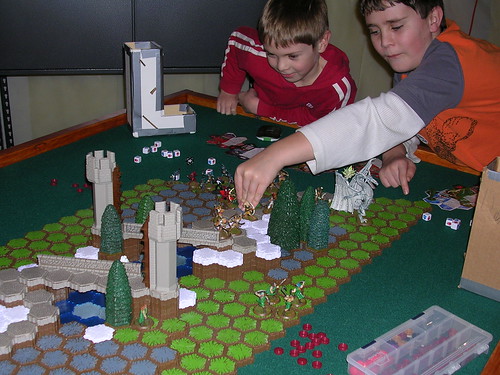
Round 2 –
This was a big round for the good guys (me).
I call my MacDirk Warriors “Scrappers” and I say it with a Scottish accent. Since my Scrappers moved last round they were able to charge down the right side this round. The huge white dragon looming large attacked first with his ice breath weapon killing half of my squad. The remaining two were able to close in and roll 6 dice each! BAG one white dragon! James’ archers then killed my remaining two Scrappers on that side of the field. I wasn’t worried though I still had 8 more in reserve. (rereading this I realize now that I cheated. Alastiar is only able to wound himself once per round and therefore should have only had 2 wounds not four. opps!)
On the left side my second squad of Calvary managed to get down the left side and dodge arrows from the advancing archers on that side. Learning from the previous round I gave them enough turn markers to get the job done this time. Two of them charged Cyprien gaining the extra die. BAG one vampire!
Both sides managed to get some ranged figures up to the bridges.
Round 3 –
The boys mowed down all the Templars they could get their hands on. The Templars are fun to play with but are pretty expensive to have them cut down from a distance.
We all moved more troops up the field including Venom.
Round 4 –
I tried to stop Venom mid-field with my Scrappers. The first roll was 5 skulls! It must have made Venom’s Spider-sense explode, because James rolled a 20 and Venom leaped to safety away from my heavy-hitting Scrappers unscathed. This was the turning point for the game. My Scrappers were exposed to the archers now and therefore died.
Round 5 –
Venom using his Spidey-Swing 4 to leap from trouble and to get up near Alastair he quickly killed my leader reducing the lethalness of my Scrappers. I had a glimmer of hope when my 4th Line gave Venom two or three wounds. But then David helped finish off my 4th line and it was clear the game was all but over. Since I was fairly devastated I conceded.
It was a good game. Here is the file for the battlefield layout.
Saturday, January 26, 2008
Two Team Training-Ground
![]()
Subscribe to:
Post Comments (Atom)
No comments:
Post a Comment